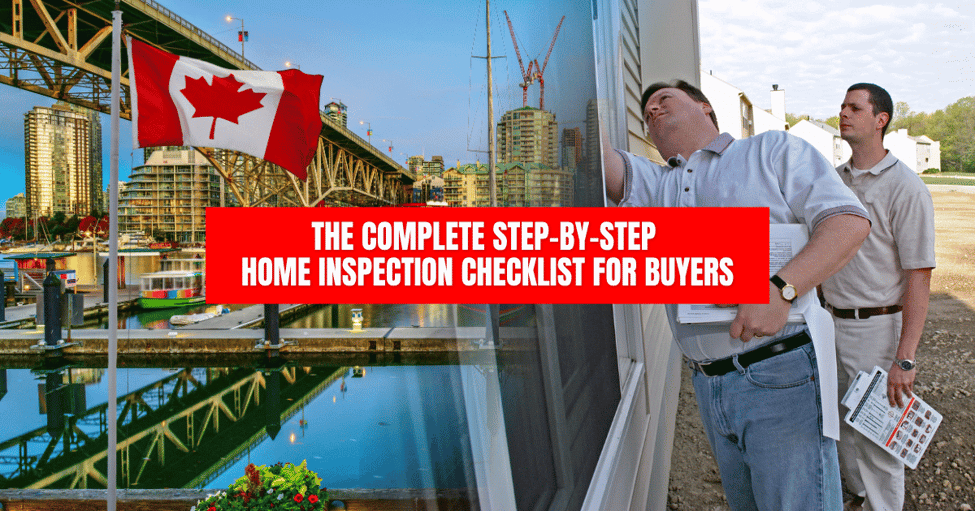
Finding your dream house and getting an offer accepted is a major milestone. But before you break out the champagne, there is one critical hurdle left before closing: the home inspection.
A home inspection is your opportunity to look beneath the fresh coat of paint and polished stage furniture. It protects your investment, gives you leverage during purchase negotiations, and prevents costly surprises down the road. While a licensed professional inspector will do the heavy lifting, knowing what to look for—and what red flags to watch out for—empowers you to ask the right questions and make confident decisions.
Use this step-by-step checklist to guide you through every phase of the home inspection process.
Step 1: Pre-Inspection Preparation
Before the inspector steps foot on the property, lay the groundwork so you can get the most out of the walk-through.
Hire an Independent Inspector: Choose a licensed, certified inspector with strong local reviews rather than relying solely on real estate agent recommendations.
Attend the Inspection in Person: Plan to be there for the final 30–60 minutes or the entire process. Seeing issues firsthand helps you contextualize what appears in the written report.
Review the Seller’s Disclosure: Cross-reference any known past repairs or issues disclosed by the seller against what the inspector finds.
Step 2: Exterior & Structural Integrity Checklist
The exterior of the home protects everything inside it. Major structural repairs are often the most expensive to fix, so pay close attention here.
Grounds & Drainage
[ ] Grading: Does the ground slope away from the foundation to prevent water pooling?
[ ] Driveways & Walkways: Are there large cracks, uneven concrete, or trip hazards?
[ ] Retaining Walls & Vegetation: Are tree roots growing too close to the foundation or utility lines?
Roof & Structure
[ ] Roof Condition: Are shingles missing, curled, or damaged? How old is the roofing material?
[ ] Gutters & Downspouts: Are downspouts connected properly and directing water at least 3–5 feet away from the house?
[ ] Foundation: Are there visible horizontal cracks, bowing walls, or signs of settling?
Step 3: Interior & Living Space Checklist
Inside the home, the focus shifts to safety, functionality, and potential signs of hidden moisture.
Doors & Windows
[ ] Operation: Do doors and windows open, close, and lock smoothly?
[ ] Seals & Insulation: Are double-pane windows fogged up (indicating broken thermal seals)?
Walls, Ceilings, & Floors
[ ] Water Stains: Are there dark spots or bubbling paint on ceilings or walls below bathrooms and beneath roofs?
[ ] Level Flooring: Do floors feel level, sturdy, and free of soft spots?
Step 4: Core Systems Checklist (HVAC, Electrical & Plumbing)
Major mechanical systems keep the home comfortable and safe. Replacing these can cost thousands, so knowing their age and condition is key.
CORE HOME SYSTEMS INSPECTION
Plumbing
[ ] Water Pressure & Drains: Run multiple faucets simultaneously to check pressure and drainage speed.
[ ] Leaks: Check under kitchen and bathroom sinks for signs of moisture or water damage.
[ ] Water Heater: Check the manufacture date (average lifespan is 10–12 years) and look for rust or leaks.
Electrical
[ ] Panel & Outlets: Is the main electrical panel up to code? Are outlets GFCI-protected near water sources?
[ ] Wiring: Look for outdated wiring systems (like knob-and-tube or aluminum wiring) or exposed connections.
Heating & Cooling (HVAC)
[ ] Age & Maintenance: How old are the furnace and air conditioner? Are maintenance records available?
[ ] Airflow: Does the system produce warm or cold air effectively across all rooms?
Step 5: Attic & Basement Inspection
Attics and basements reveal how well a home handles insulation, ventilation, and moisture.
[ ] Attic Insulation: Is insulation sufficient, even, and free of pest droppings or mold?
[ ] Basement/Crawl Space: Is there standing water, a musty odor, or signs of past flooding?
[ ] Sump Pump: If present, does the sump pump feature a working float switch and backup system?
Step 6: Post-Inspection Action Plan
Once you receive the official written inspection report (usually within 24–48 hours), move quickly:
Distinguish Needs from Wants: Focus negotiations on safety hazards, structural issues, and costly system failures (e.g., roof leak, faulty wiring) rather than cosmetic flaws.
Request Repairs or Credits: Work with your agent to request seller repairs prior to closing or negotiate financial credits/price reductions.
Schedule Specialized Inspections if Needed: If the inspector flags potential issues, hire specialists (e.g., structural engineer, sewer scope specialist, chimney inspector, or pest inspector) for deeper evaluation.
Make Your Next Move With Confidence
A home inspection doesn't have to be overwhelming—with the right checklist and team on your side, it’s your strongest tool for protecting your investment. Whether you are navigating your first purchase or buying an investment property, thorough inspection prep gives you total peace of mind before signing on the dotted line.
Have questions about the home buying process, or ready to schedule your professional property consultation?
Call me directly at (604) 833-6840 to speak with me and explore our services and book your appointment today!